WIN INSTANTLY
1 in 100 people WIN INSTANTLY
We grow a fair bit of garlic in Australia. About 400 tonnes of the stuff which sounds impressive but is dwarfed in comparison to the amount we import from China. 95% of garlic in Australia comes from there and to get it here they need to treat it with bleach and toxic biocide - methyl bromide to prevent potential bacteria coming into the country. Different countries have different rules on pesticides used, so a chemical that may be banned in Australia might freely be used overseas and then that product gets imported to here.
Garlic is fairly easy to grow so doesn’t it make sense to plant it in your veggie patch and know that it is chemical free and has more flavour because it hasn’t gone through the chemical cleaning process.
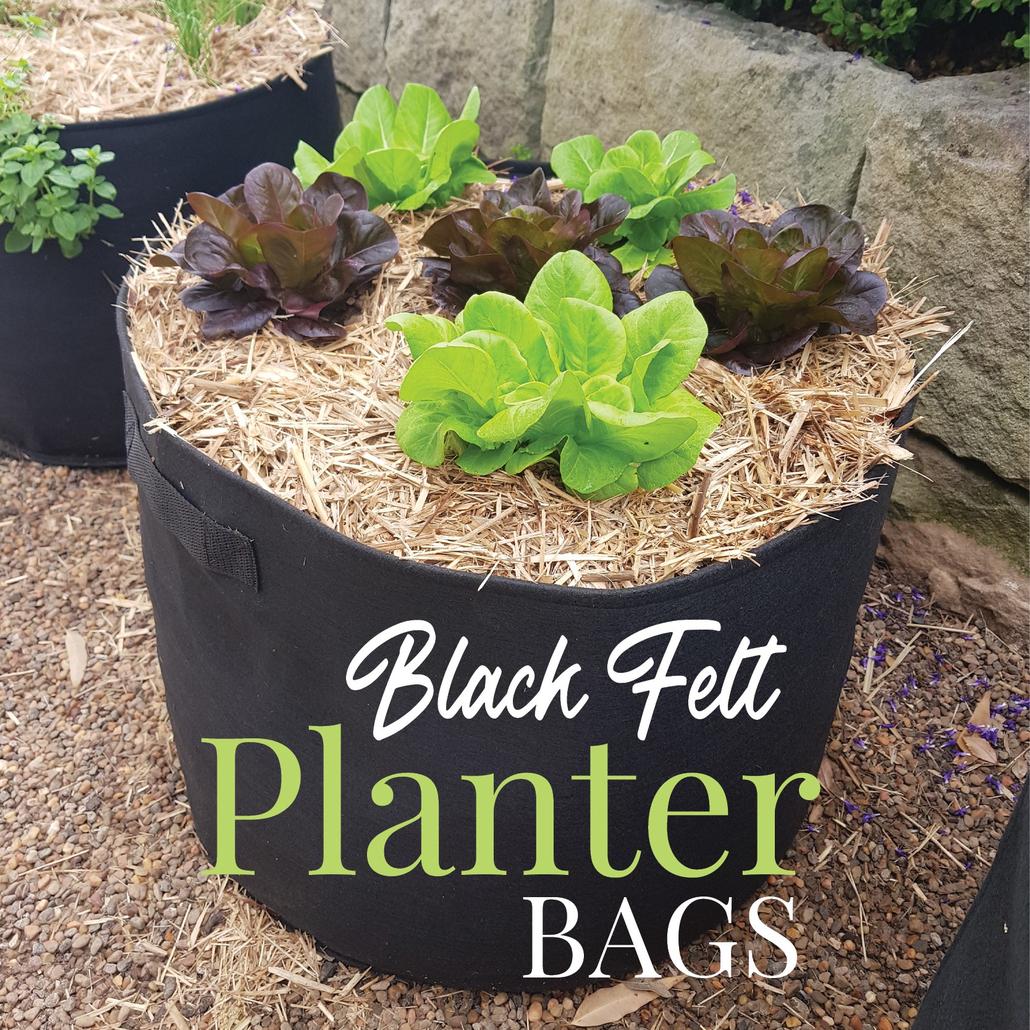
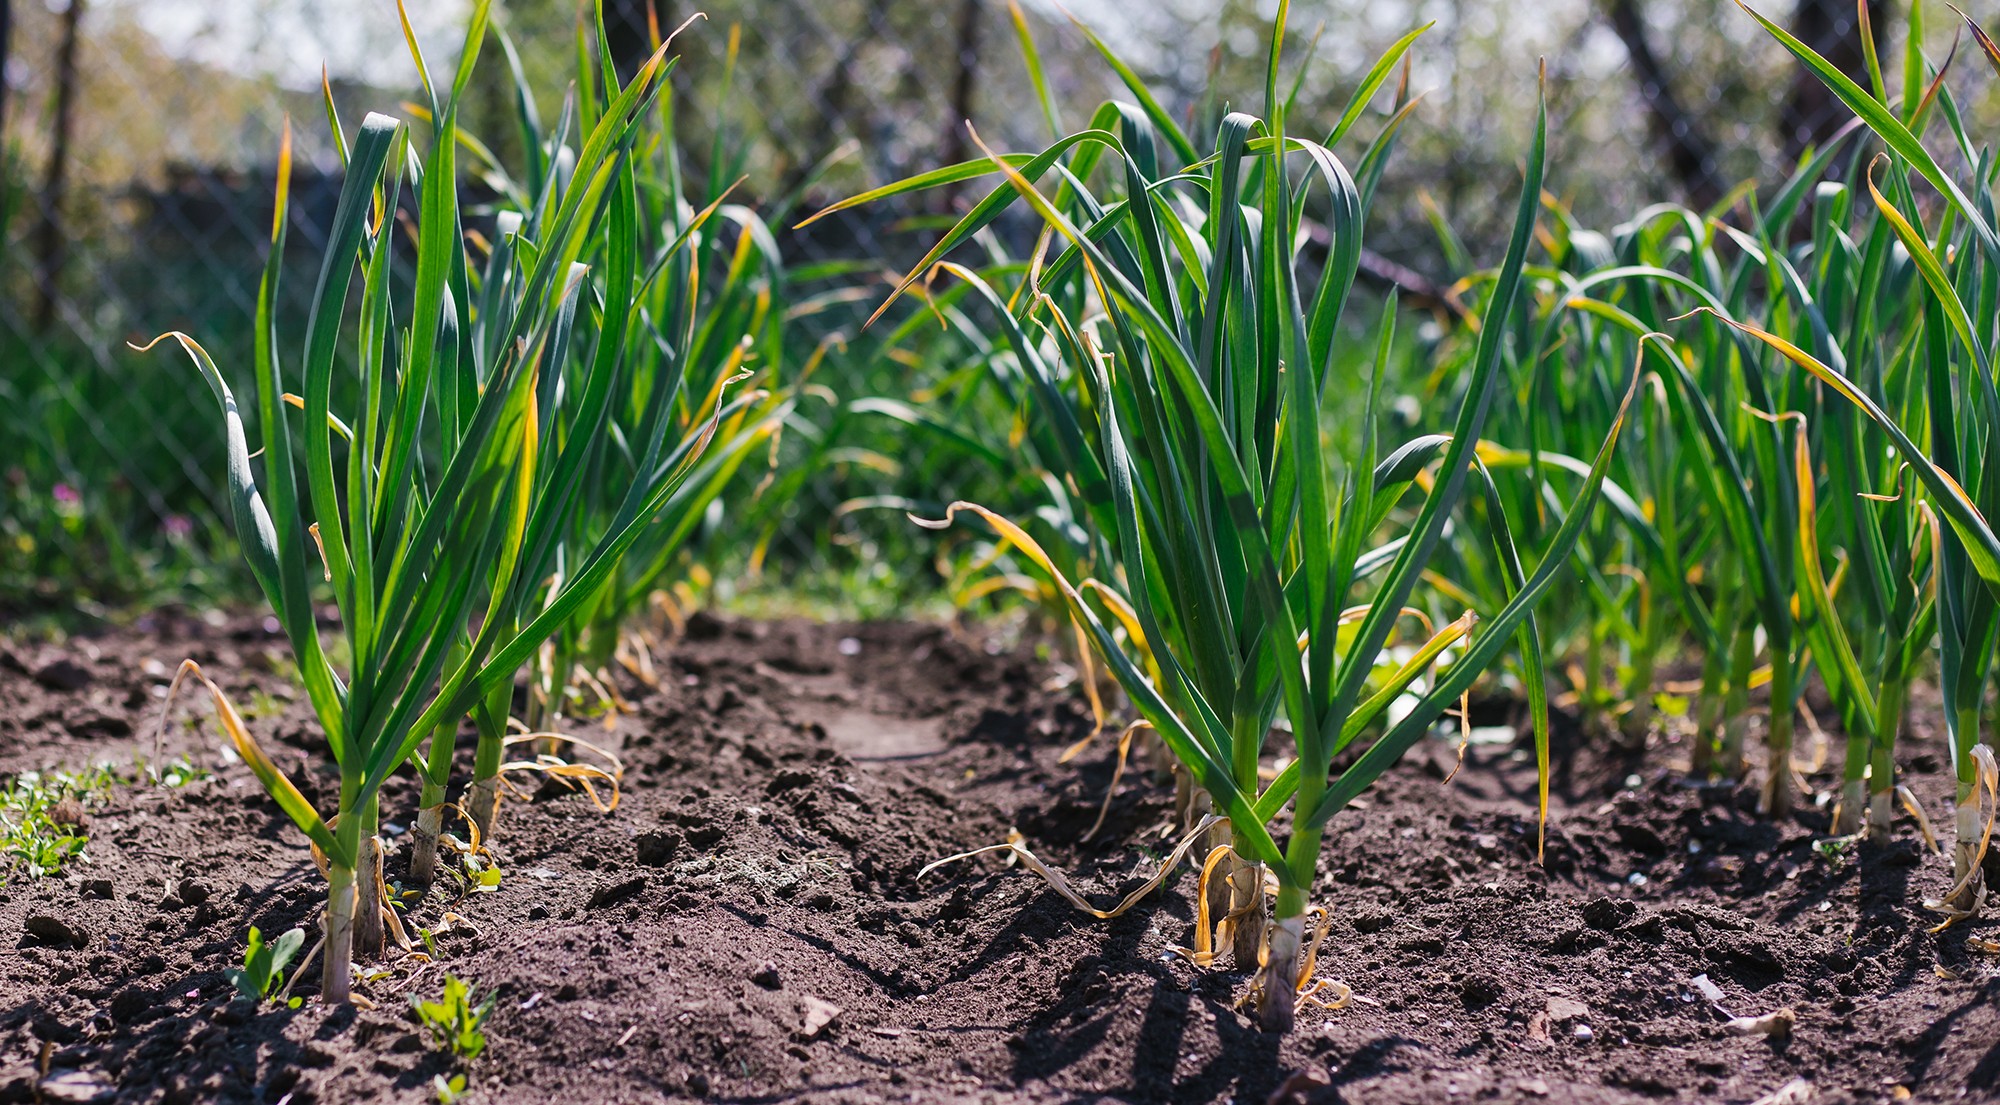
Garlic does take about 5-8 months to be ready for harvest so that is a slow growing crop. You might want to dedicate some large planter bags just for garlic or alternatively plant it in between other crops as it does repel pests too.
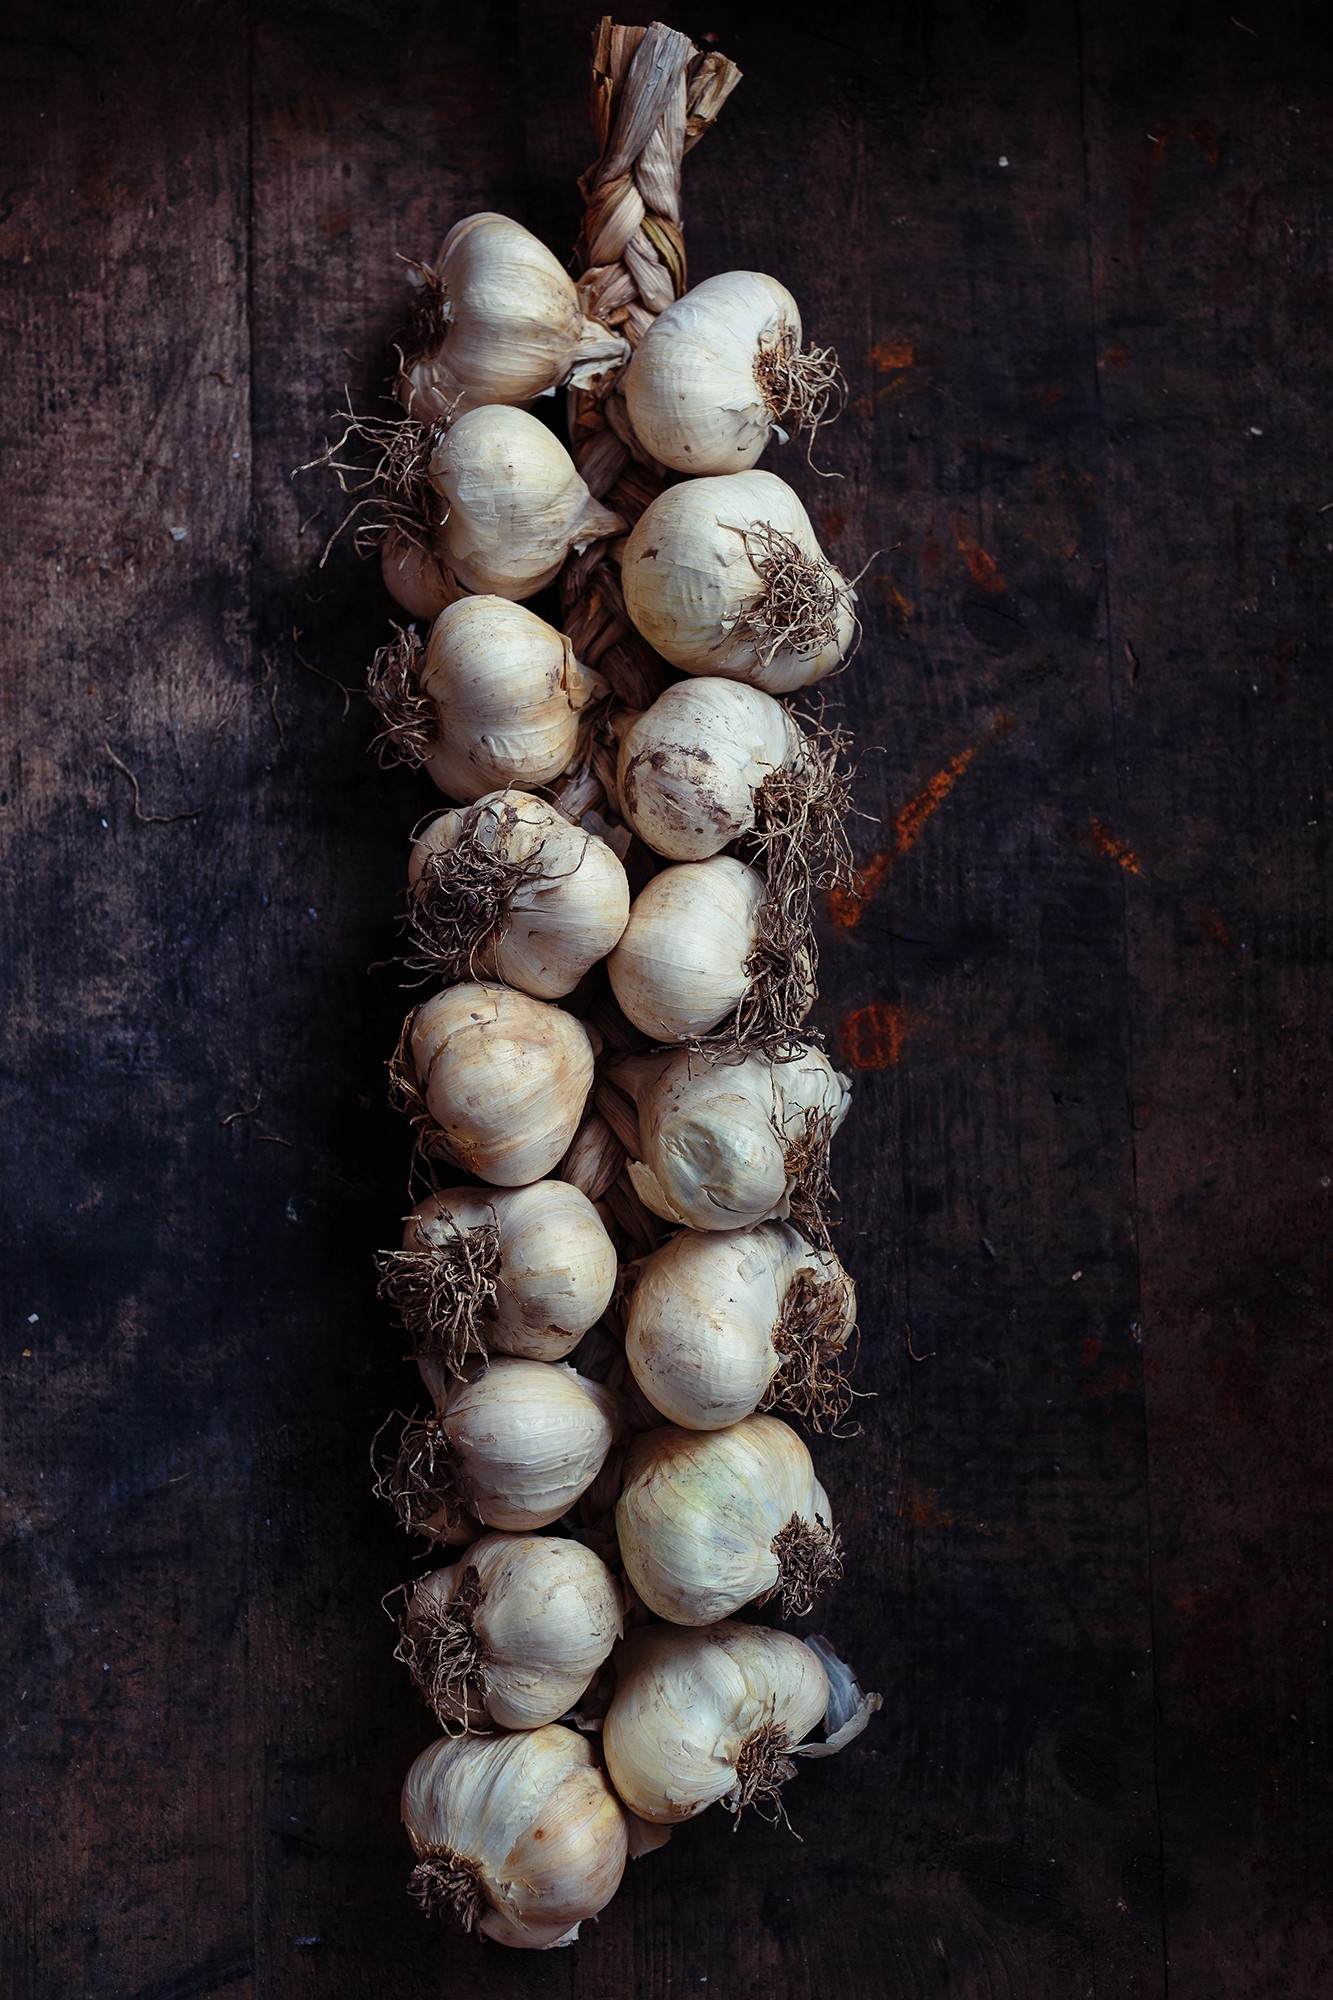
The best results are going to be achieved using nice plump sized cloves as the new plant is already stored in that bulb. A lot of people try using garlic cloves from the supermarket and planting those. But keeping in mind 95% of garlic is coming from overseas and has been bleached and sprayed with growth inhibitors (maleic hydrazide), you are likely to get very poor results. If the garlic is white, it generally means its been bleached.
The best bet is to buy some from a local grower or buy dedicated seed garlic. That way you know its healthy stock that will give you a good harvest.
The garlic bulbs can rot pretty easily if the soil is not free draining, so use raised mounds or raised garden beds and the water will get away easier. As with most veggies, adding compost and manures to the soil a few weeks before planting will give them a good kickstart. If your soil has a pH less than 6 (acidic) then add some dolomite to make it a little more alkaline. Ideal is between 6 and 7.
Break up the bulb into individual cloves and plant in a sunny spot with the pointy end up so they are about 2cm below the soil. In cold areas you can plant a bit deeper (5cm) Space them 15cm apart and in rows 15cm apart. Add a layer of loose straw mulch over the top and water it in.
You can sow your cloves from the end of March to June. If you live in warmer region, try storing your garlic cloves in the fridge for a couple of weeks before you plant as this will encourage them to sprout and produce a better crop. If you are unsure about whether there is fungal issues with the bulb stock you have, soak them in some seaweed solution with a teaspoon of bicarb to kill off the spores.
Like most flowering bulbs, Garlic needs to have a cool to cold winter for the bulb to form. This makes them a good crop for temperate and cool zones but not good for tropical zone regions up North.
To keep them really healthy, apply Amgrow Seaweed solution or Harvest every 2 weeks. The initial manure you added to the bed is enough to get them started, then apply some additional organic pellets every 8 weeks. Amgrow Naturals Vegetable and Herb would be perfect to use.
Easy to move about and built really tough to last for several years of use, now everyone can have a go at growing veggies.
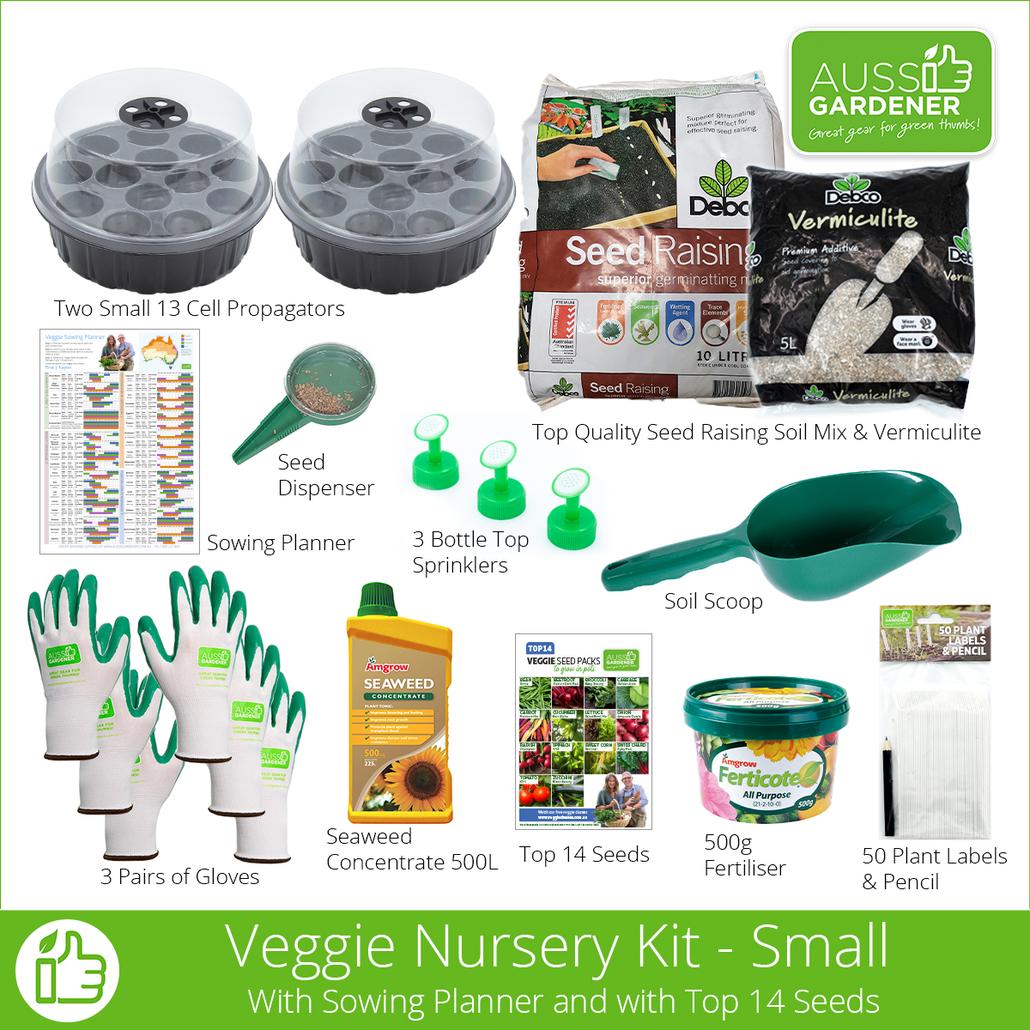
We have put together 24 of the best growing varieties of vegetables in one easy kit. Nothing Genetically modified. All good solid varieties that have been growing in australia for the last 20 or more years. Enough for a full year of veggie growing (and more)
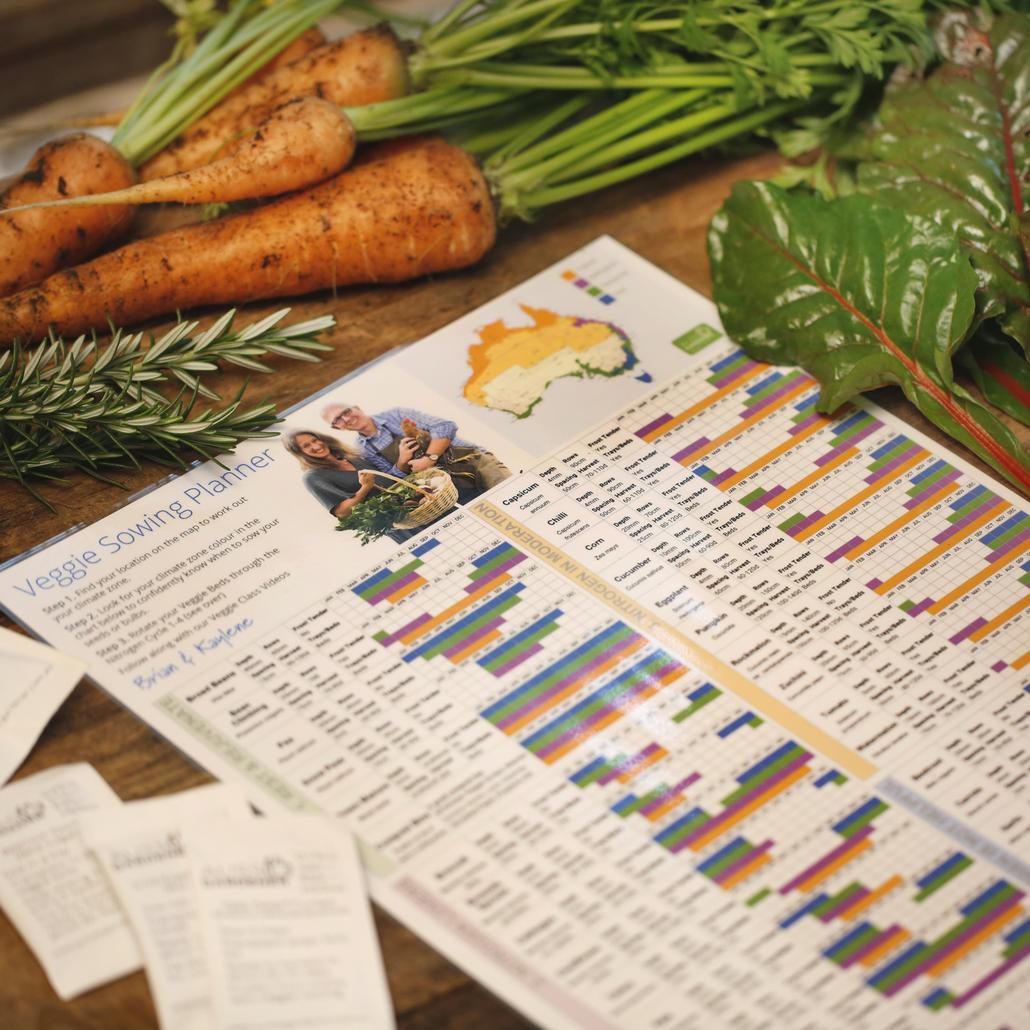
The complete guide for when to plant your veggies and how long they will take to harvest. Covers all of Australia and is very easy to follow. Covers seed depth, row spacing, frost sensitivity, harvest timeframe, crop rotation and planning out your beds.
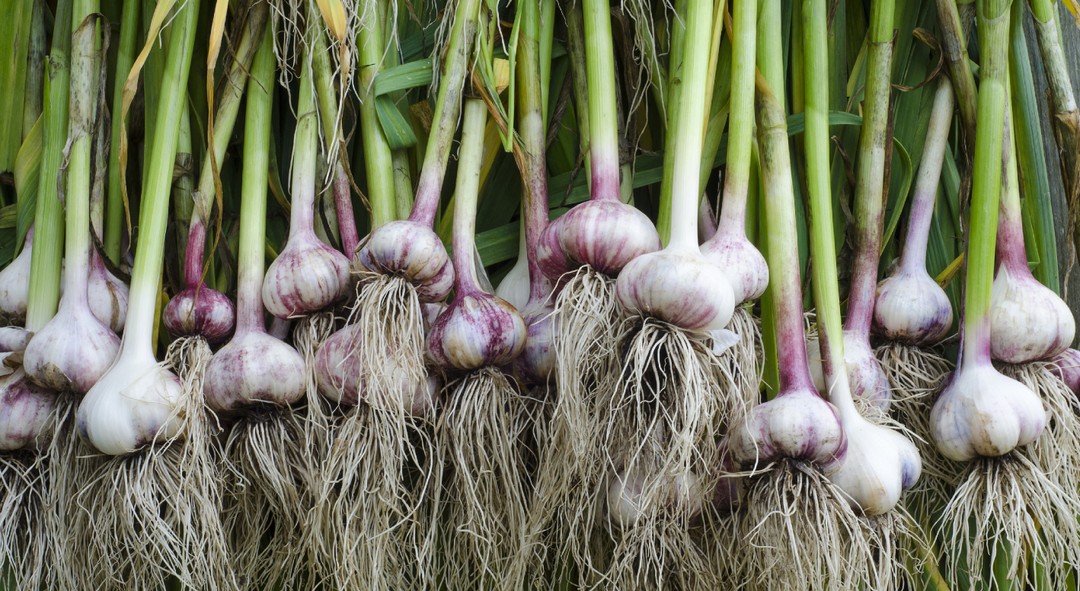
About 6 - 9 months into growing, the outer leaves will start to brown off. This is a sign they are getting closer to being ready. Cut back on the watering and fertilising at this stage. Move a bit of surface soil away to check the bulb looks nicely formed.
When you get to the stage where there are only about half a dozen green leaves left, stop watering for a week to make the skins go tight around the cloves, then dig them up with a fork. Try not to damage that outer skin as they will store better if kept tightly packed. I once left the garlic in the ground too long and the outer skin broke down. I still found the individual cloves in the soil, but they didn’t last well in the cupboard.
Dig them up with a fork from the sides of the bed, brush off the soil and hang in bunches in a warm, airy spot away from sunlight. They look great plaited and hanging in the kitchen but keep away from steam as the moisture can affect them. Leave them for about 5 weeks to cure. If you don’t do this step they wont store very well long term. Once they are cured, trim off the roots and leaves and keep them in cool, dark spot until you need to do some cooking with garlic!
The plumpest bulbs of garlic, set aside to plant again next year rather than eating them. Ideally you want to save about 1 in 10 for planting.
Funnily enough one of the biggest is weeds! Because they take so long to harvest, weeds will often move in to these beds so be sure to have a nice thick layer of mulch over the surface to greatly minimise weed growth.
Id also recommend swapping the beds you grow garlic in each year as you can get fungal buildup happening in the soil which can really knock them around. Ideally give it a 3 year break before you plant garlic in the same bed again.
Water deeply (so the water gets down deep) because garlic can have really long roots, up to 60cm deep! To reduce fungal issues like rust, don’t splash water on the leaves. Instead water the soil and keep the leaves dry. A drip irrigation system is ideal for this, or just a patient hand with a slow hose.
You may find black aphids like to have a munch on the leaves. If bad, this can cause distorted new growth and affect the plant. Mixing up a vegetable based soapy water spray will help remove them and then spraying with a pest oil 7 days later. Be thorough as they can be hiding in all the crevices of the leaves.
The most common fungal issue Rust. It appears initially as white small patches on the leaves and tiny orange spores. It can easily spread around in the wind and affects other plants, not just garlic. You can treat this with an organic spray of bicarb of soda. If it gets really bad you may need to get a Sulphur based spray.
The worst one to get is Fusarium (Basal Rot) as it is really difficult to get rid of once you have it in your crop. Throw out affected plants and cloves. If a part of a bulb is rotting discard the whole bulb. The bulb will usually smell a bit off. As mentioned previously, when sowing garlic bulbs if you are uncertain they are good clean stock soak them in bicarb of soda (from the kitchen) and water.
But don’t let these problems stop you from having a go. Follow the steps above and you should be producing some great tasting Aussie grown garlic. Grow enough to share with the family and neighbours too.